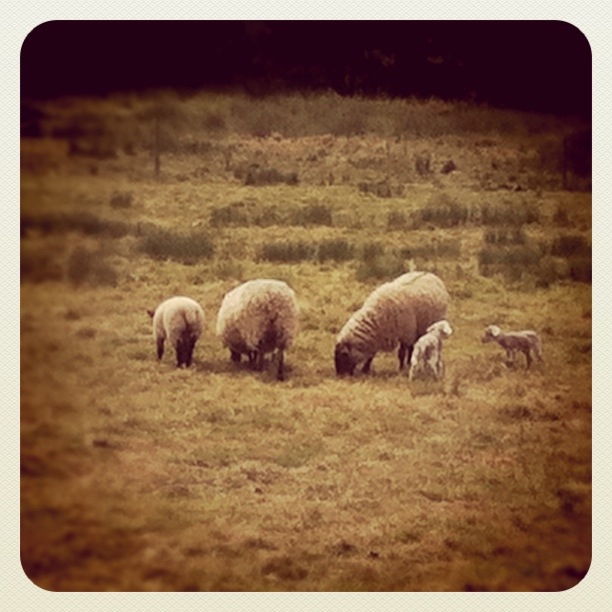
I am a of the iPhone app and web service Instagram. You can take great photos with the iPhone 4, but Instagram encourages making art from iPhone photography in a really interesting and fun way. I am by no means a professional photographer, but I do enjoy playing around with what can be achieved with the iPhone’s camera.
More recently, I have found myself using Instagram in a few unconventional ways to get some interesting results.
Using Instagram as a Post-Production Digital Zoom

While the iPhone 4 camera in many ways can be very competitive with many dedicated point and shoot cameras, one notable feature it lacks is an optical zoom. There’s a digital zoom — but I see little point in using it. Digital zoom merely degrades the quality of the photo you are taking — and you lose that quality permanently. If you want to crop the photo to have the effect of digital zoom, you can do that after taking the photo without losing any data.
And that’s what I have found myself doing quite a bit — I will take a photograph of something in the distance using the iPhone’s default Camera app, then enter Instagram, choose the new photo to bring into the app from the Camera Roll, and use the zoom and pan feature to ‘crop’ the Instagram version of the shot. I end up with the original, unfiltered photo in case I want to come back with that, and the cropped and filtered ‘arty’ version in Instagram.
Combining iPhone 4 HDR Photography with Instagram
The iPhone 4’s High Dynamic Range (HDR) feature, introduced shortly after the debut of the device, allows you to capture more of scenes with significant contrast between the lightest and darkest areas of an image. The iPhone’s HDR takes two photos in quick succession — one underexposed, one overexposed — and combines them together.
The results, frankly, are mixed, but there are many occasions where the iPhone 4᾿s HDR works really well to bring the colour of the sky out where it would otherwise be ‘blown out’.
Unfortunately, you can’t use the HDR feature within Instagram’s capture interface, so, again, I find myself using the iPhone’s default camera app to take the source photo, then importing into Instagram later. The result is that you can combine the HDR shot with the filters and other enhancements in Instagram for an even better end result.
Conclusion
These two techniques I have developed might be quite obvious to many people — and could even be described as a bit fiddly, with having to exit and enter different apps. I have found them, however, a really good way to make even more out of a fantastic free app.
If you want to follow my images on Instagram, my username there is peteru.


Hi Peter. Having read your thoughts on Instagram (and not being an iPhone user myself), can you forsee it being an available app on other devices? Or is it already? I’m not that big on fancy mobile phones, but if Instagram were available on say, a Blackberry, it would probably sway me to purchase one.
Thanks! Georgie
@Georgie
It’s currently only on the iPhone. Instagram so far has been very tightly focused on the iPhone experience only — there’s even no web interface to the service, except to view photos and change your password. That and the app — that’s basically it!
With that singular focus in mind, I would be surprised if we saw them move to other platforms, especially since they are getting a lot of success just where they are. So, unfortunately for you, I’m a little doubtful we’ll see Instagram on the BlackBerry any time soon. I certainly haven’t seen any suggestion from them that they have any plans for any other platforms.
Hello Peter.. how do i crop big files and fit it into
Instag.am’s scale? like photos i’ve take from my DSLR saved on my iphone. The photos are too large i can’t get to them to fit in the scale.
Thank you,
RJ
@Roselle J
If you bring the images into your Camera Roll on your iPhone, you then just open Instagram, select the new photo button at the bottom, press the button to open the Camera Roll and select the photo. At this point, you’ll get a ‘Move and Scale’ screen, where you just pinch to zoom and then move around to crop out areas you don’t want in the Instagram version of the image.
Hope this helps!