In this blog post, we’ll be:
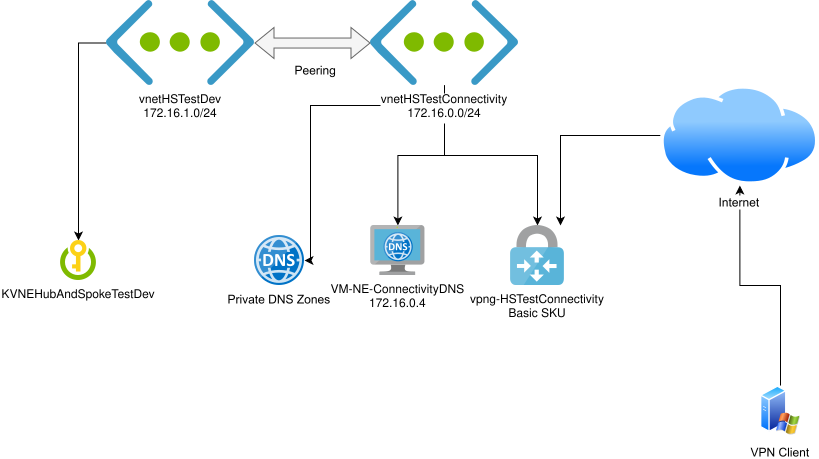
- configuring a virtual network topology in Azure in the “hub and spoke model”
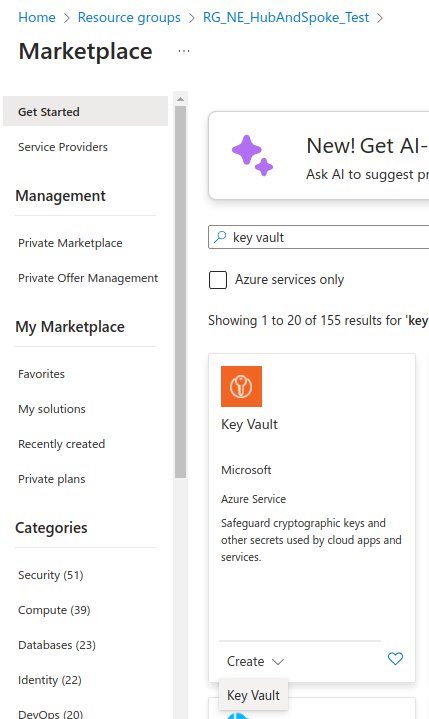
- deploying an example resource (a Key Vault) in our spoke network
- restricting access to the Key Vault using a private endpoint connection so that it is only accessible inside the vnet
- configuring a DNS forwarder running Debian + Unbound in the hub network for resolving the private DNS name of the Key Vault
- configuring a Basic SKU Virtual Network Gateway
- configuring a Windows client to connect to the Basic VPN Gateway in a point-to-site configuration so it has access to the Key Vault through the private endpoint
Why?
A hub and spoke network with private endpoints for restricting access to various Azure PaaS resources is a fairly common architecture, but there are a few parts of it that lead to unnecessary costs: namely the PaaS private DNS resolver and the Virtual Network Gateway in its non-Basic SKUs, such as VpnGw1.
The primary purpose of this post is to document how I’ve achieved this architecture using the Virtual Network Gateway Basic SKU, which saves ~£80/month over the VpnGw1 SKU. It also saves the PaaS private DNS resolver costs by using a lightweight VM.
Create hub network
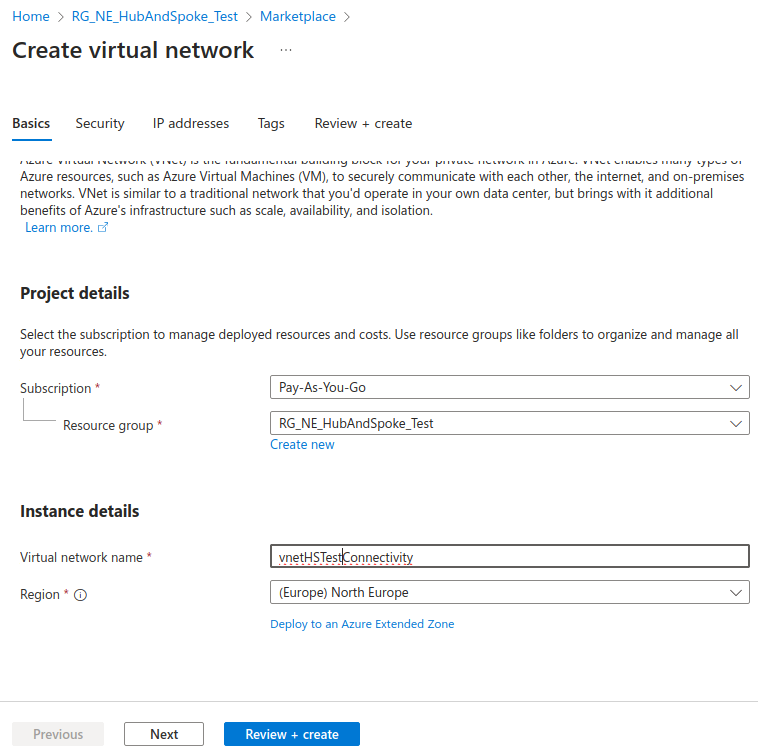
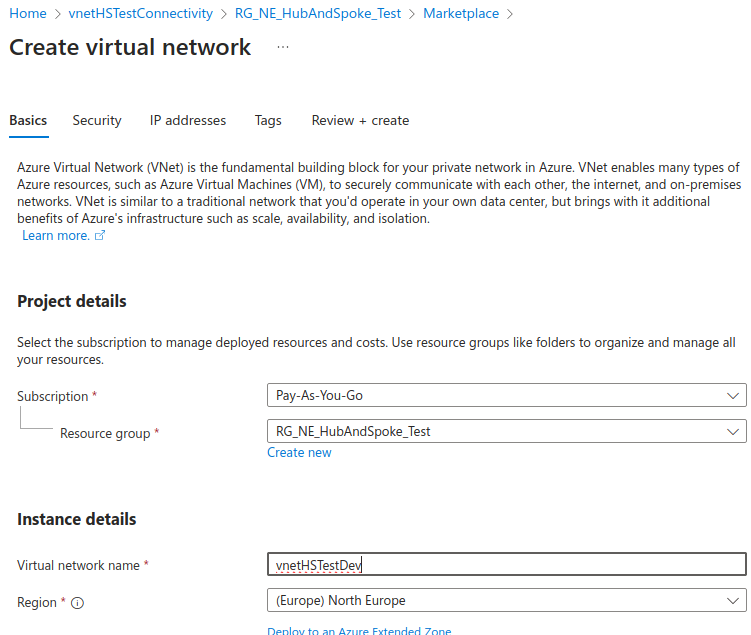
We’ll start by creating our “hub” network, called vnetHSTestConnectivity in my case.
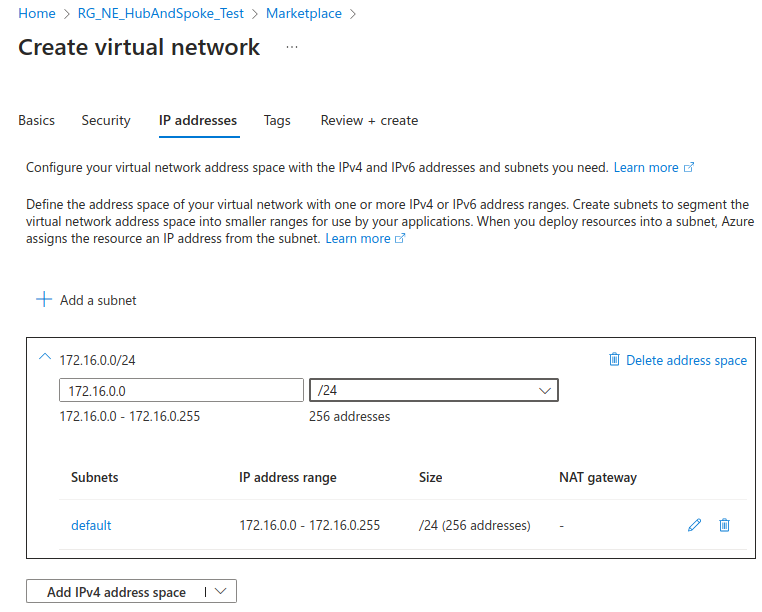
We’ll be using the 172.16.0.0/24 range for this network.
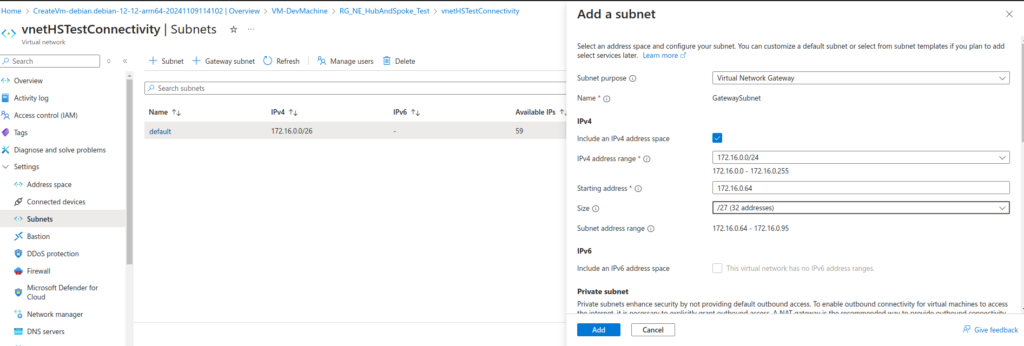
We will make the default subnet smaller, a /26, and add a gateway subnet after it:
|
Subnet Name |
Range |
|---|---|
|
default |
172.16.0.0/26 |
|
GatewaySubnet |
172.16.0.64/27 |
Create “Dev” spoke network
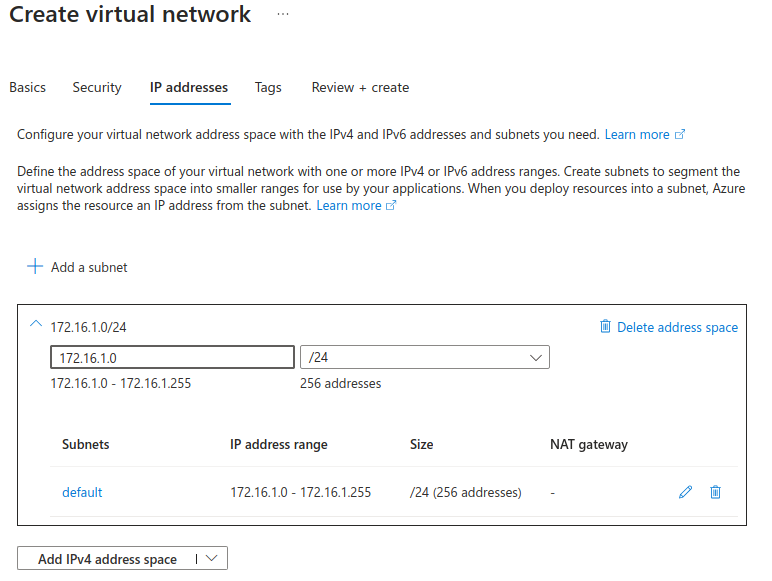
Our spoke network will be considered the “Dev” network, and called vnetHSTestDev.
Here, we’ll use the next /24 block for IP addressing, 172.16.1.0/24.
Peer the Connectivity (hub) and Dev (spoke) networks
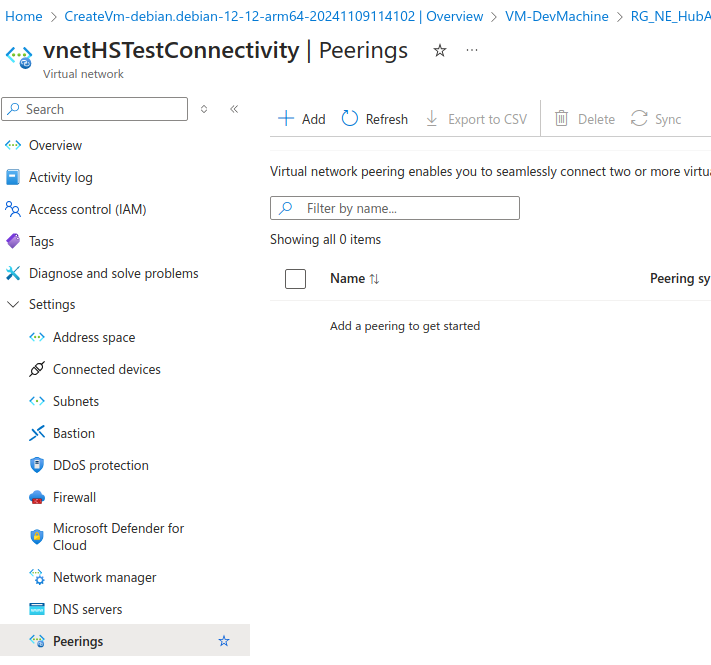
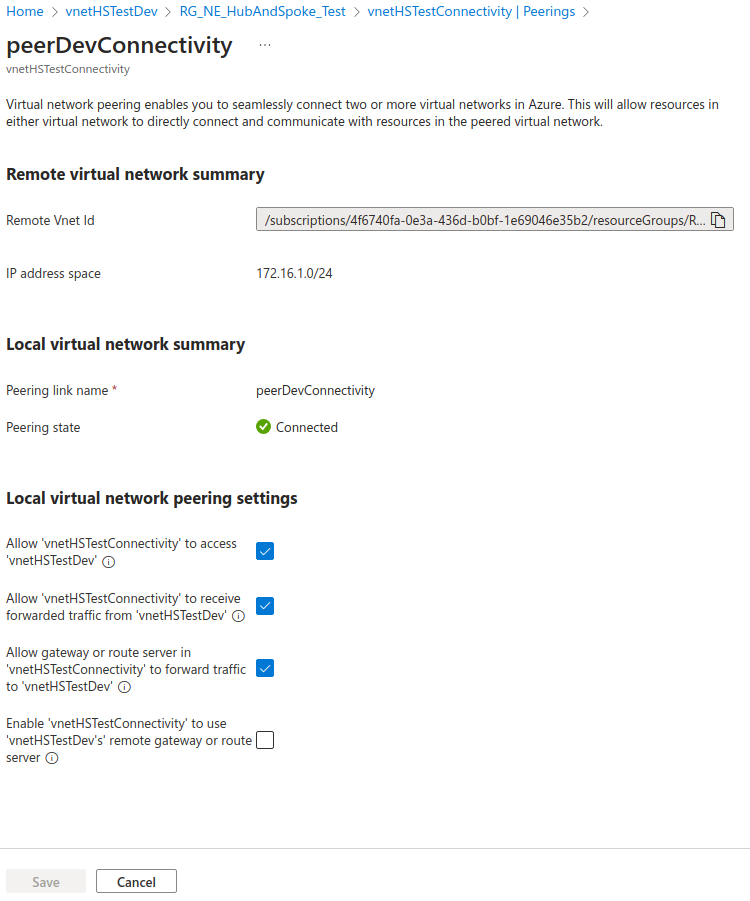
We need to peer the two networks. In the vnet configuration, go to Peerings and Add:
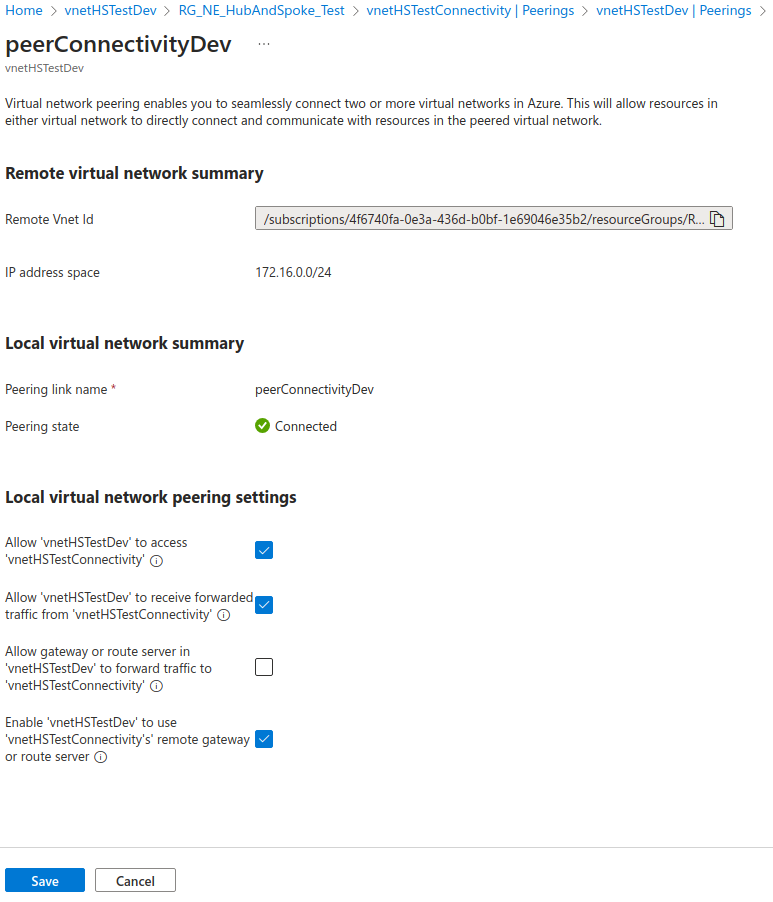
We need to do this on both ends of the connection, so for both vnets:
Deploy a Basic SKU VPN Gateway in the Connectivity (Hub) network
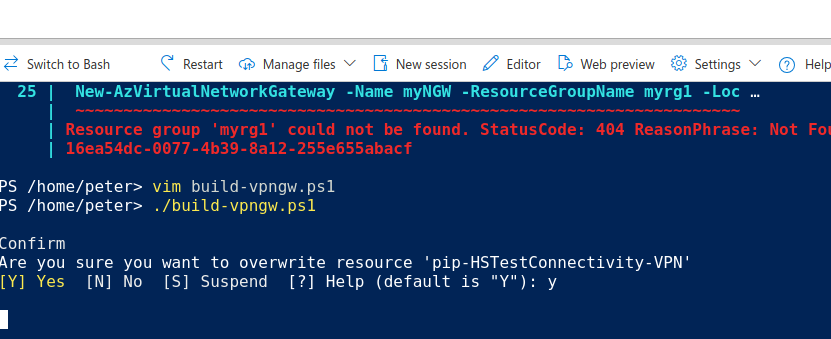
The Basic SKU cannot be selected in the Azure Portal UI, so we’ll need to deploy by PowerShell. Let’s deploy this via the cloud shell. We will need to select switch to PowerShell if the shell starts in bash.
The script to run is in my GitHub repository for this post, and is adapted from this comment in the azure-docs repository (thanks to Gitarani Sharma).
(I quickly used vim to paste in the script contents and run it, but you can also use the cloud shell’s Manage files > Upload to get the PowerShell script into the cloud shell environment so that you can run it.)
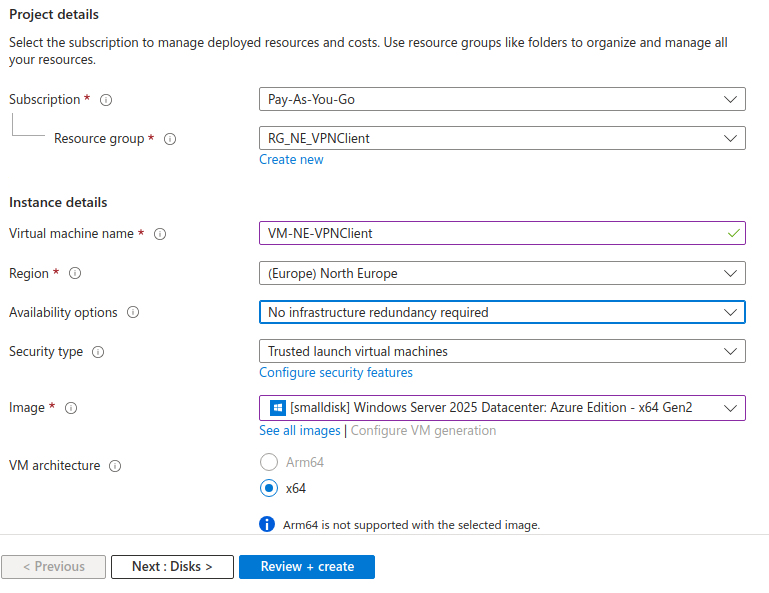
Build a VPN client machine
The machine that will connect into this virtual network and access the key vault will also be another Azure VM. This doesn’t need to be in Azure at all — I’ve done it just for convenience’s sake; it’s a mighty quick way to build a Windows VM! In a real environment, this is likely to be your development machine that you’re using to develop whatever Azure solution you’re building.
Note that the VPN client machine lives entirely outside the vnets we have created — the point is that this machine is remote and connects via the VPN!
Generate VPN Gateway certificates
For the purposes of authenticating to the VPN Gateway, we will use self-signed certificates as per Microsoft’s guidance. In a real environment, of course, we would want to use a proper PKI!
We will misuse the VPN client machine to generate these for our lab environment. In PowerShell:
$params = @{

Type = 'Custom'

Subject = 'CN=P2SRootCert'

KeySpec = 'Signature'

KeyExportPolicy = 'Exportable'

KeyUsage = 'CertSign'

KeyUsageProperty = 'Sign'

KeyLength = 2048

HashAlgorithm = 'sha256'

NotAfter = (Get-Date).AddMonths(24)

CertStoreLocation = 'Cert:\CurrentUser\My'

}

$cert = New-SelfSignedCertificate @params
$params = @{

Type = 'Custom'

Subject = 'CN=P2SChildCert'

DnsName = 'P2SChildCert'

KeySpec = 'Signature'

KeyExportPolicy = 'Exportable'

KeyLength = 2048

HashAlgorithm = 'sha256'

NotAfter = (Get-Date).AddMonths(18)

CertStoreLocation = 'Cert:\CurrentUser\My'

Signer = $cert

TextExtension = @(

'2.5.29.37={text}1.3.6.1.5.5.7.3.2')

}

New-SelfSignedCertificate @params
Make a note of the 24 month and 18 month certificate expiry, if this environment is likely to last that long!
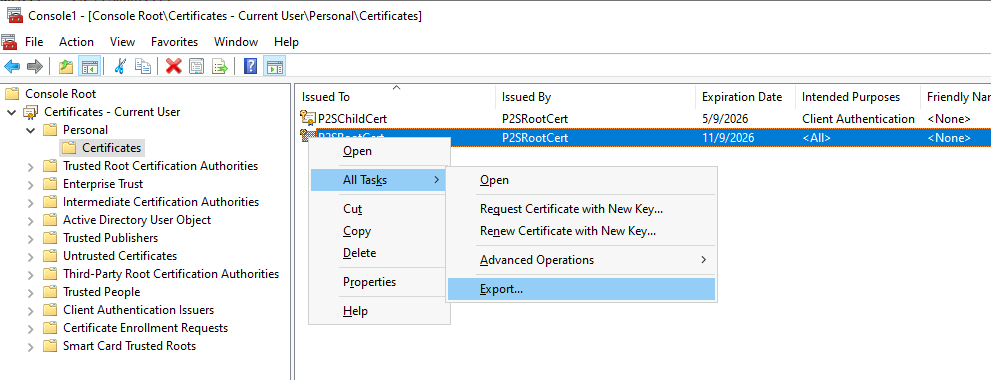
Now, we need to export the P2SRootCert root certificate. Open mmc and add the Certificates snap-in for the current user.
We don’t need to export the private key in this case, as we won’t be signing any new certificates or using this PKI outside of this test environment.
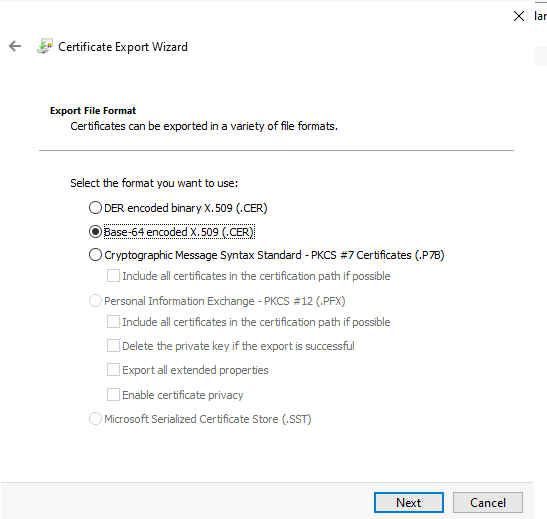
Export as base 64 format:
Open the exported file in Notepad and copy the base 64 certificate content. Exclude the beginning and end lines; you should have just the base 64 characters themselves.
Set up VPN Gateway point-to-site configuration
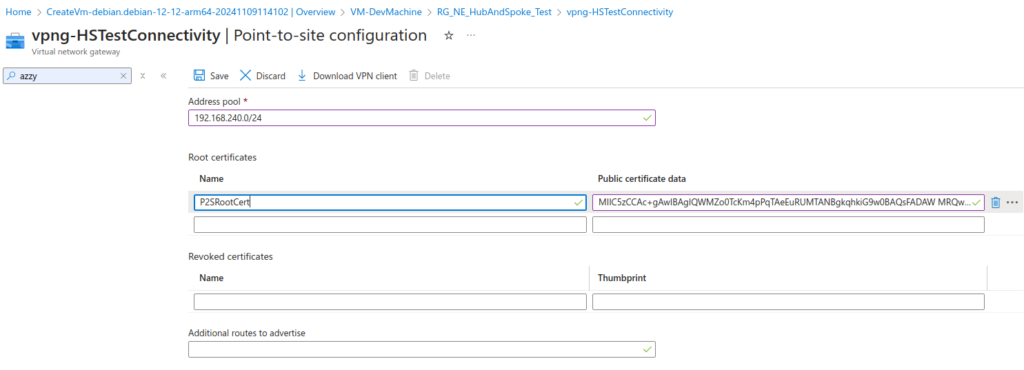
The address pool needs to be a range specifically for VPN clients and must be outside the ranges of the networks that those clients seek to access through the VPN.
We will choose 192.168.240.0/24, as this is well outside the 172.16 ranges we are using for the hub and spoke networks, and is less likely to conflict with domestic local networks that use low numbers in the 192.168.* space!
Paste the base64 content of the root certificate into public certificate data and give it a name.
Add the additional routes of the peered networks to Additional routes to advertise. In our case, that’s the IP range of the Dev network, 172.16.1.0/24.
This may take some time to save the new configuration, so while we wait for Updating to disappear from the VPN Gateway’s Overview page, we’ll set up our private DNS zone for the Key Vault. (We haven’t created the vault yet!)
Create private DNS zone for Key Vault
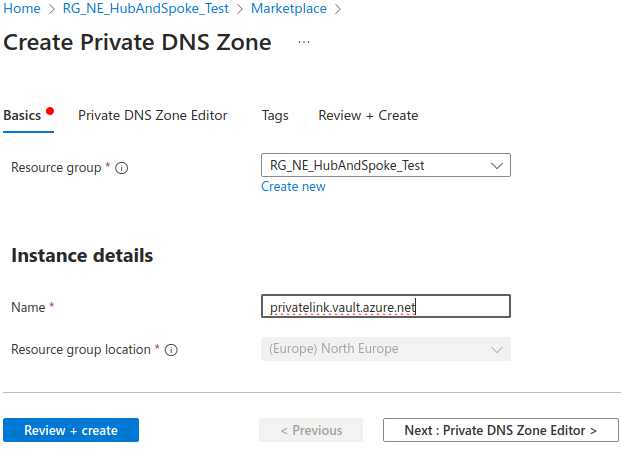
Deploy a new Private DNS Zone. We don’t need to do anything in the Private DNS Zone Editor, just deploy it as is:
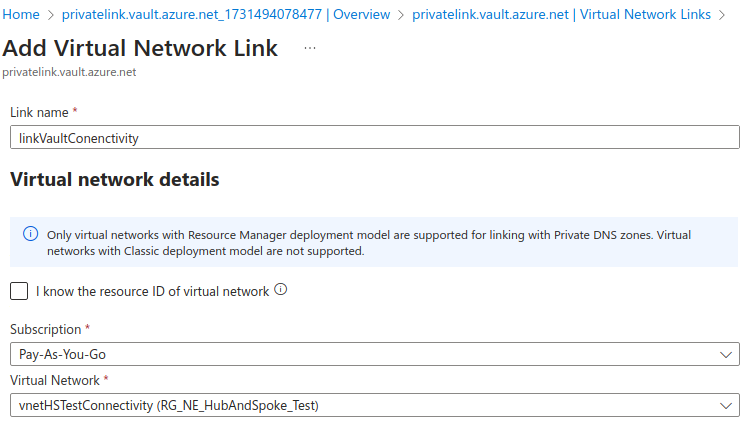
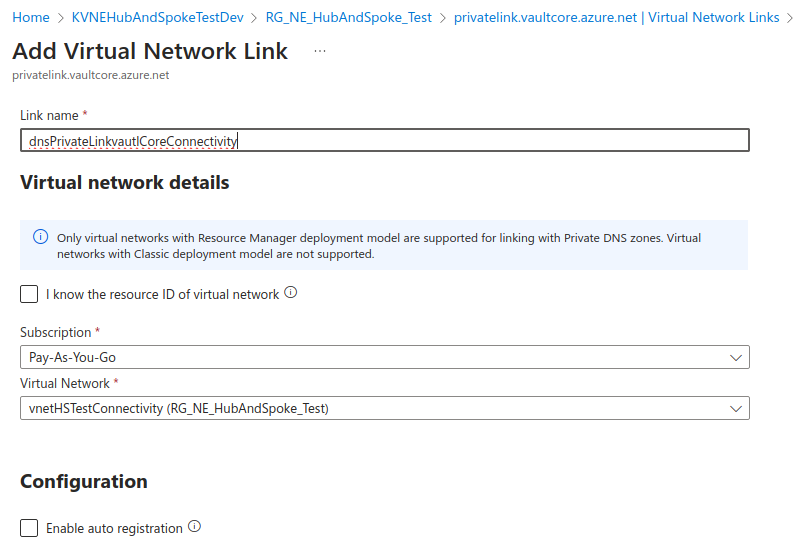
Link the Private DNS Zone to the connectivity (hub) network:
Deploy DNS server in the Connectivity (hub) network
So that we can resolve the name of the Key Vault to its internal IP address in our Dev (spoke) network, we need a DNS server that’s in the Connectivity (hub) network.
The VPN client machine will query this DNS server for the specific namespaces that my connection script will configure, including .vault.azure.net.
You can of course do this with Azure Private DNS Resolver, but at a much higher cost!
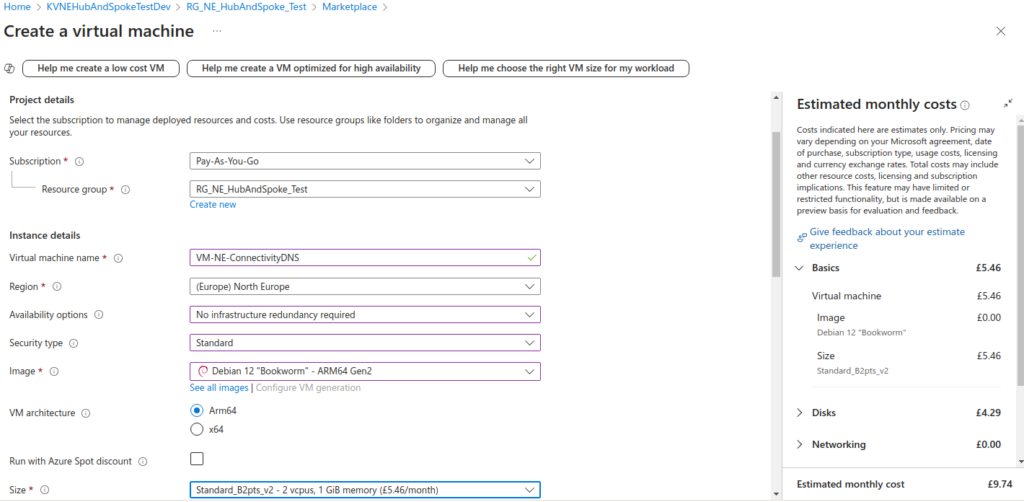
I will deploy a Debian VM in this instance, and use the Unbound DNS server.
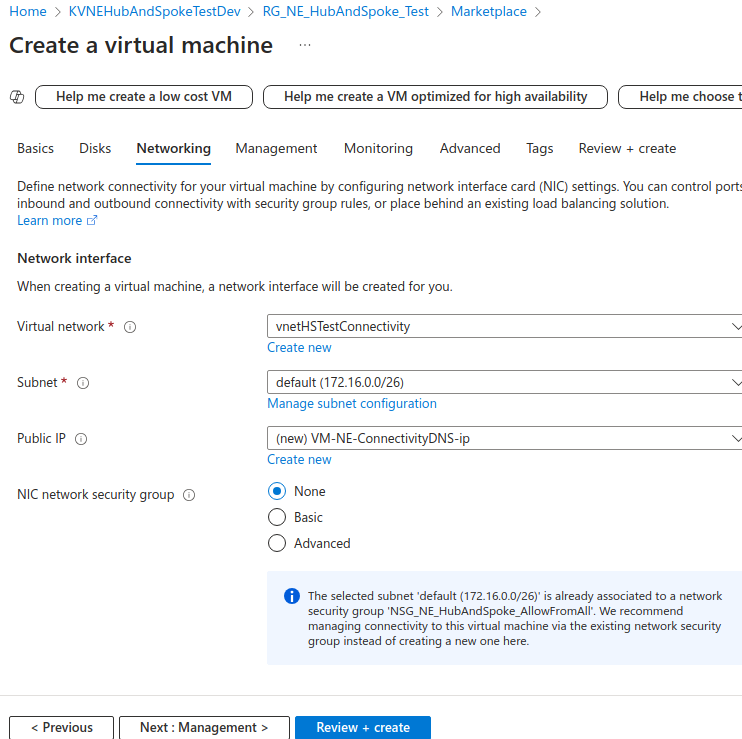
It will be deployed into the default subnet of vnetHSTestConnectivity:
Once deployed, connect over SSH to the new VM.
This new DNS server has been assigned 172.16.0.4 in my example.
We will install and configure Unbound:
sudo apt update
sudo systemctl disable --now systemd-resolved
sudo apt install unbound
sudo vim /etc/unbound/unbound.conf
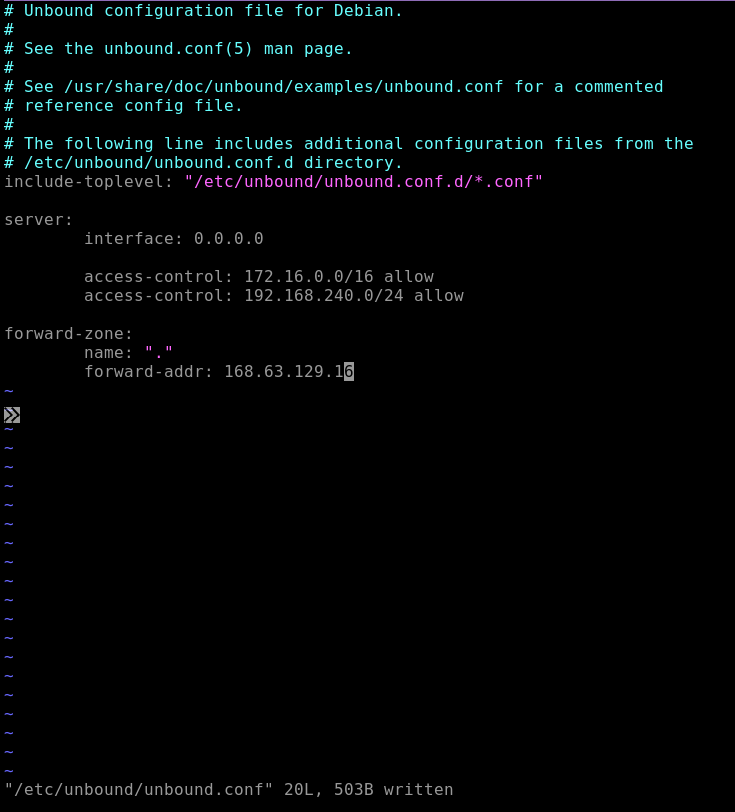
I’ll edit the config file to add access-control entries for both the private ranges of the hub and spoke network, and also for the VPN connection IP address range 192.168.240.0/24.
Finally, the forward-zone stanza ensures that all DNS queries are forwarded via the Azure DNS resolver inside the Connectivity network. Because the private DNS zone is linked to this network, our DNS VM and its clients can resolve the private names.
server:
  interface: 0.0.0.0
  access-control: 172.16.0.0/16 allow
  access-control: 192.168.240.0/24 allow

forward-zone:
  name: "."
  forward-addr: 168.63.129.16
Let’s restart Unbound:
sudo systemctl restart unbound
Deploy Key Vault with private link
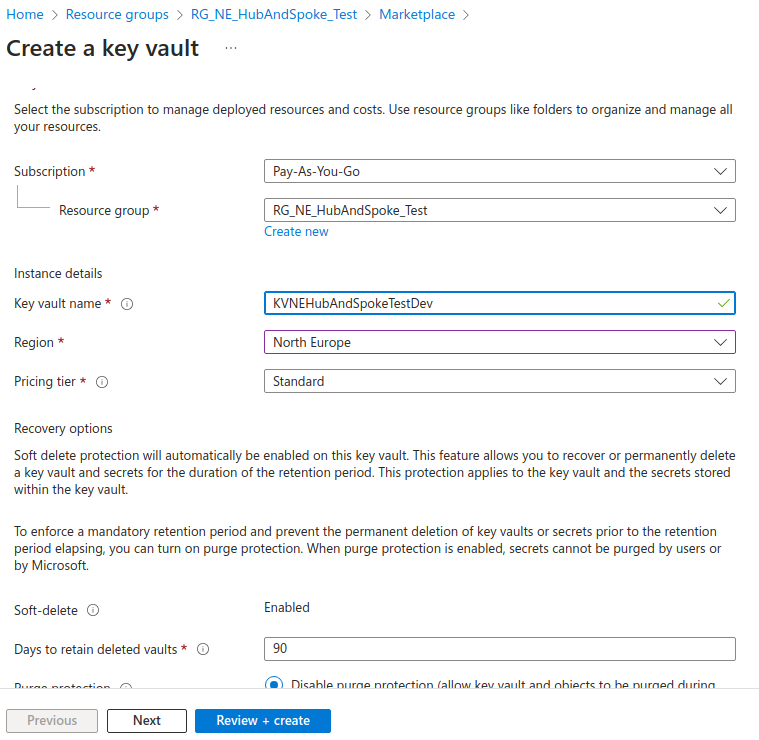
My Key Vault is called KVNEHubAndSpokeTestDev.
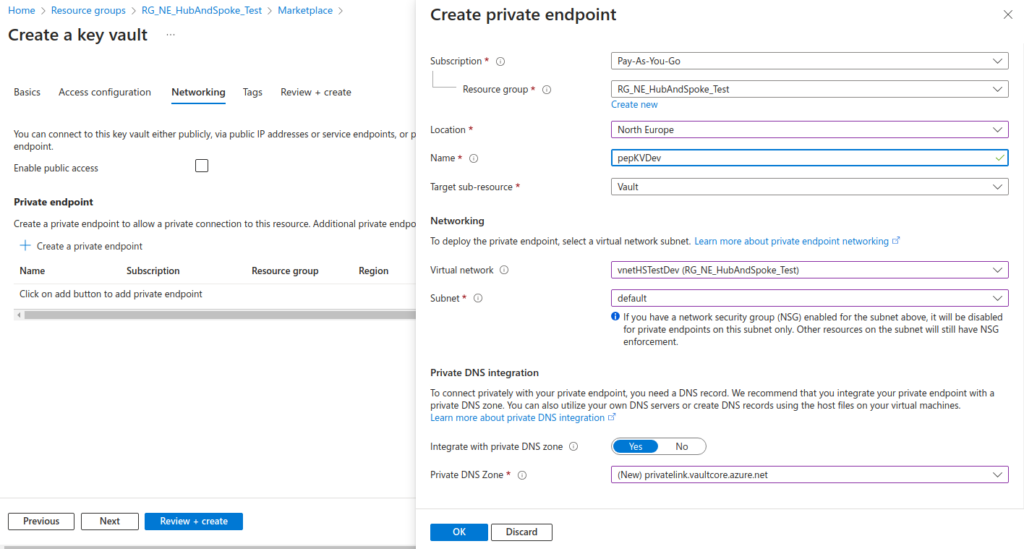
On the Networking tab, we will disable public access and create a private endpoint linked to vnetHSTestDev:
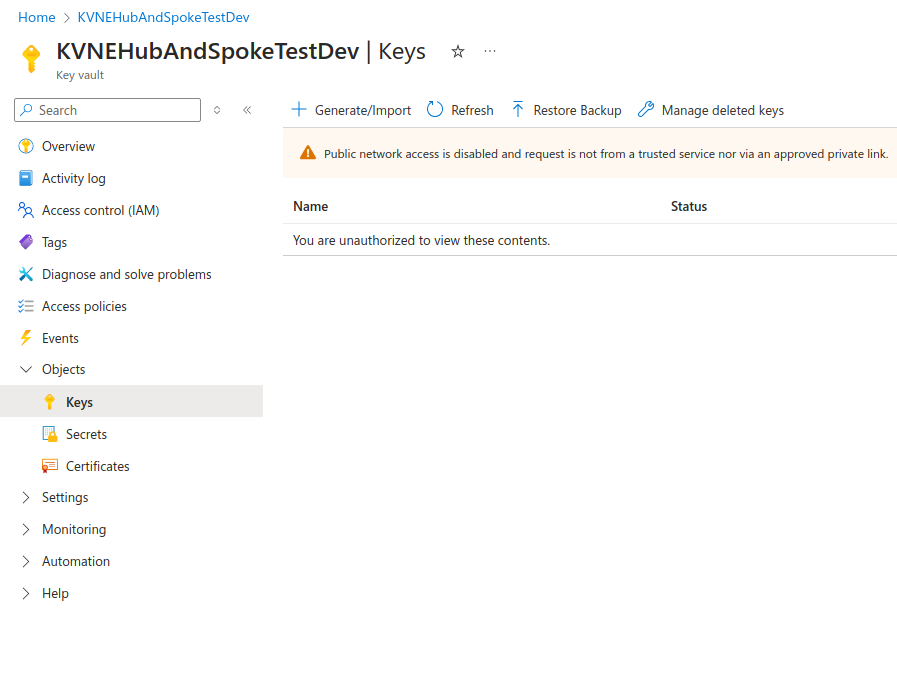
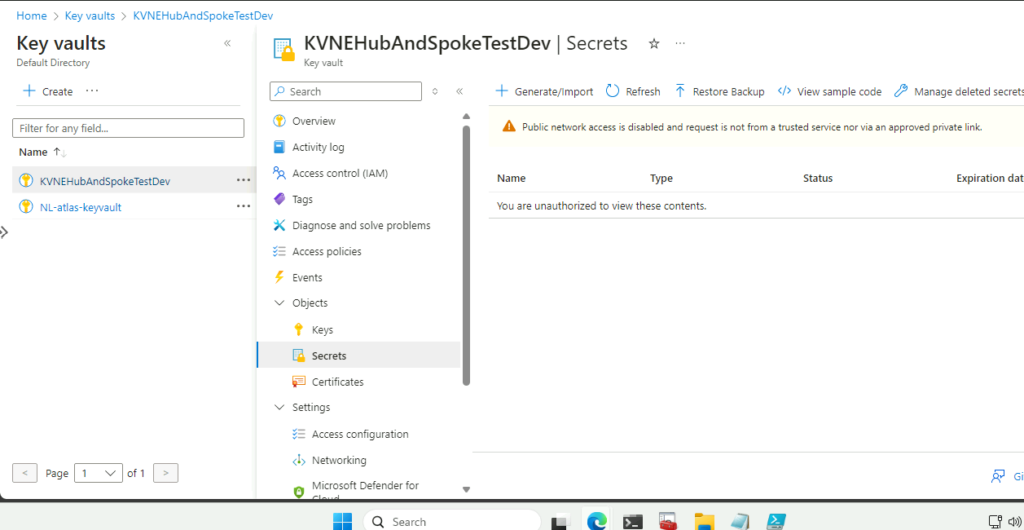
Once created, we will be unable to list keys or secrets in the portal, as we’re not yet transiting the VPN to access the Key Vault via the private endpoint:
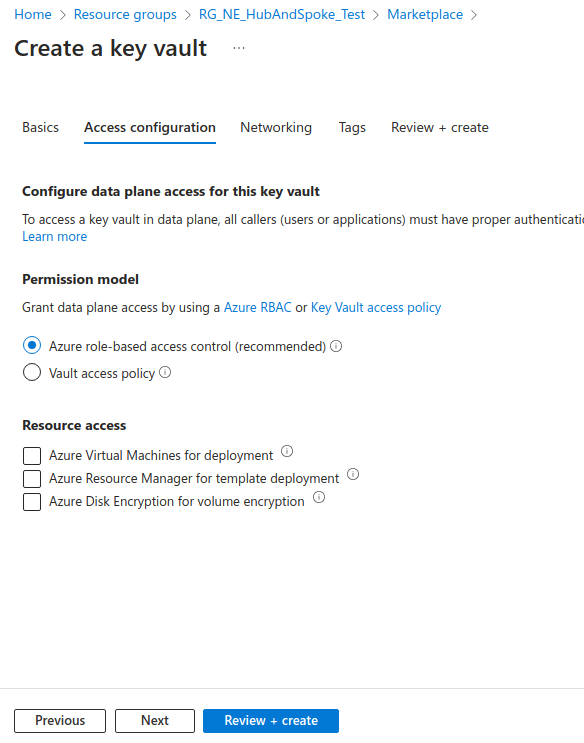
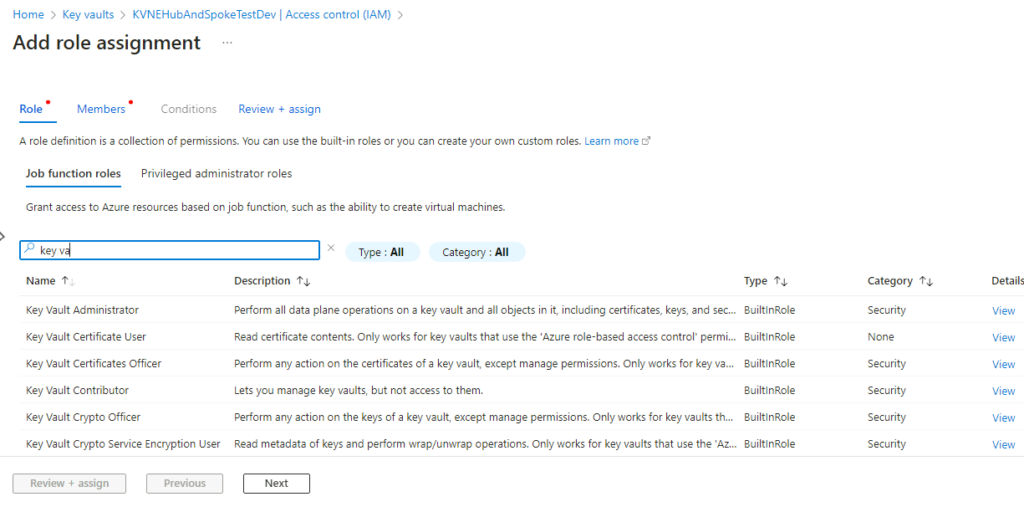
Let’s make sure the user we are using has the appropriate RBAC permissions to work with the data in the Key Vault, and it’s only the private endpoint issue that’s preventing us from having access. (Even an Owner will not have access to the Key Vault data plane by default.)
We will add the Key Vault Administrator RBAC role:
We need to link the private DNS zone for privatelink.vaultcore.azure.net into the Connectivity vnet:
Test: look up the Key Vault name on the DNS server
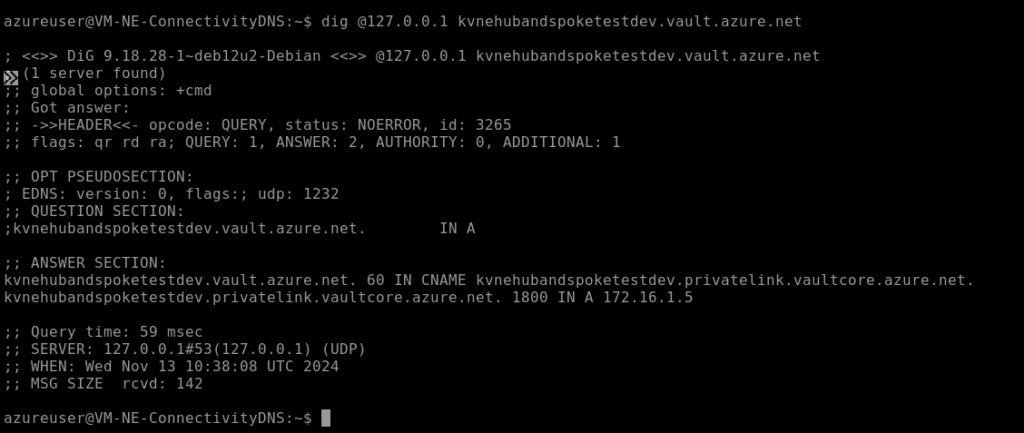
To test that the private DNS zone is working, I’ll log onto my DNS server VM and query it directly for the name of the Key Vault.
sudo apt install dnsutils
dig @127.0.0.1 kvnehubandspoketestdev.vault.azure.net
We know this is working here as it resolves to a private IP address in the Dev network range: 172.16.1.5.
Connect from isolated VM into the connectivity network via the VNG
Everything is looking good, but we haven’t yet connected our VPN client to the network!
Back in the VPN Gateway Overview page, download the connection profile by pressing the Download VPN client button.
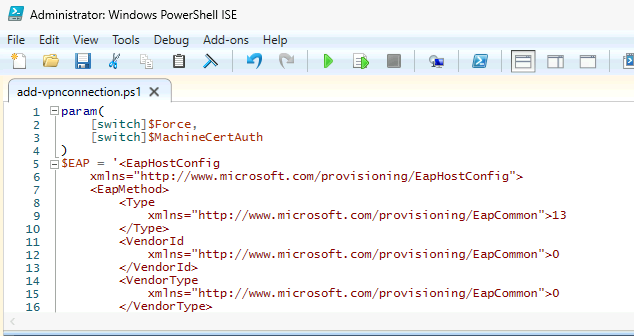
In the zip file that you’ll get, we will transfer the script in the WindowsPowerShell folder across to the VPN client machine.
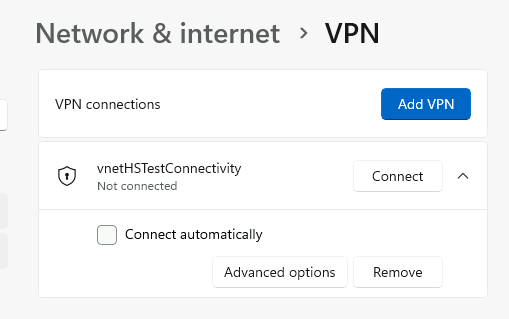
Run this PowerShell script. If successful, you’ll be able to go to Windows Settings > Network > VPN and see the new profile vnetHSTestConnectivity. Don’t connect to it just yet.
When we connect to the VPN, we need to also add rules so that Windows directs DNS requests for the private resources that need to be resolved inside the VPN to our DNS server in that network. This can be handled automatically by OpenVPN etc. using the higher end VPN Gateway SKU, but not the Basic SKU.
I’ve written a PowerShell script for connecting and disconnecting from the network that automates the management of these DNS policy rules to let us resolve the private names. Let’s take a look.
The scripts and configuration are in the GitHub repository that accompanies this post.
config.json contains the private DNS zones that will be resolved via the private DNS resolver, and the IP address of this VM inside the vnet.
{
    "VPNConfigurationName": "vnetHSTestConnectivity",
    "VPNGatewayRange": "192.168.240.0/24",
    "DNSClientNRPTRules": [
        ".vault.azure.net",
        ".table.core.windows.net",
        ".vaultcore.azure.net",
        ".servicebus.windows.net",
        ".queue.core.windows.net",
        ".file.core.windows.net",
        ".blob.core.windows.net",
        ".azurewebsites.net"
    ],
    "DNSServer": "172.16.0.4"
}
(We’re only using .vault.azure.net / .vaultcore.azure.net in this post, but this configuration is flexible!)
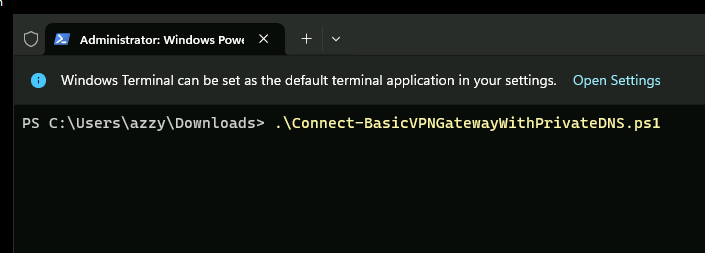
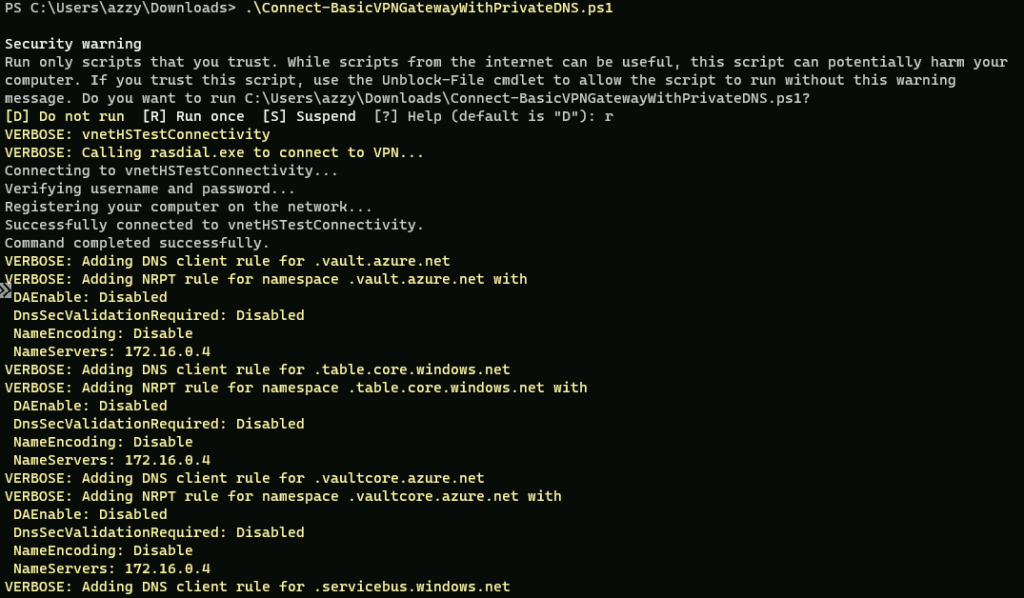
We will connect to the VPN by running Connect-BasicVPNGatewayWithPrivateDNS.ps1
We should now be connected to the VPN. We should be able to ping the DNS server at 172.16.0.4.
Let’s verify that we can resolve the private endpoint DNS name of the Key Vault to its internal IP address:
Resolve-DnsName kvnehubandspoketestdev.vault.azure.net
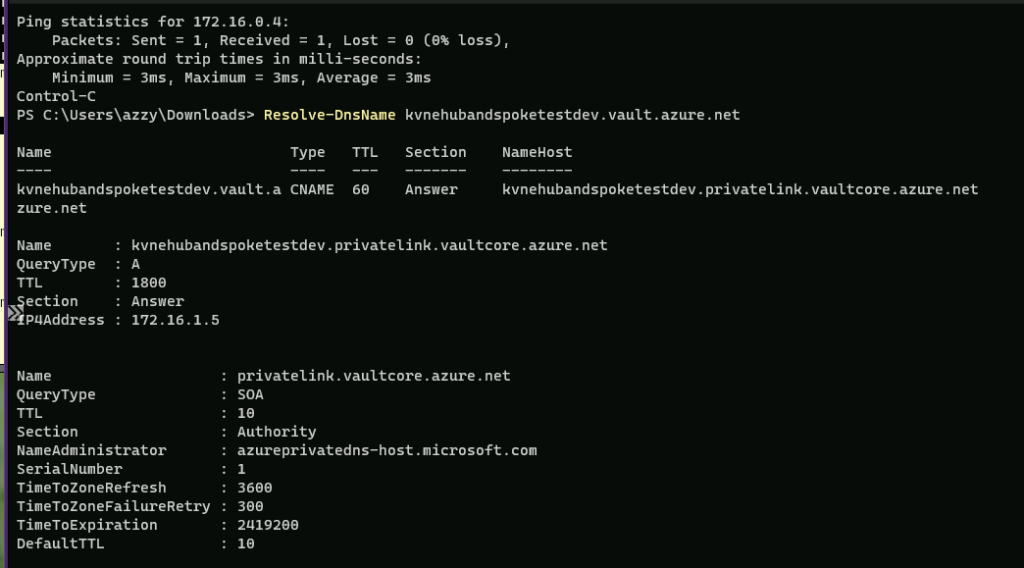
Great! We can see the IP4Address returned is in the spoke network range: 172.16.1.5.
Now let’s access the vault over the private endpoint by means of our VPN connection. For demonstration purposes, we will do this using a browser on our VPN client machine and accessing the Azure Portal.
Remember that before we saw this error?
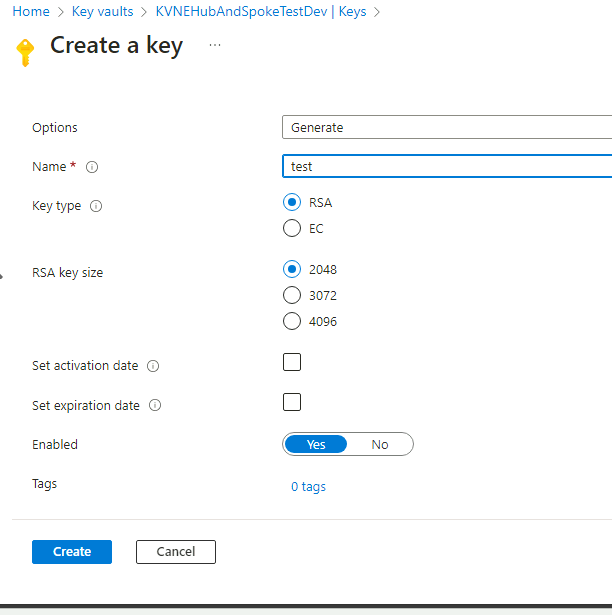
We should now be able to generate a key:
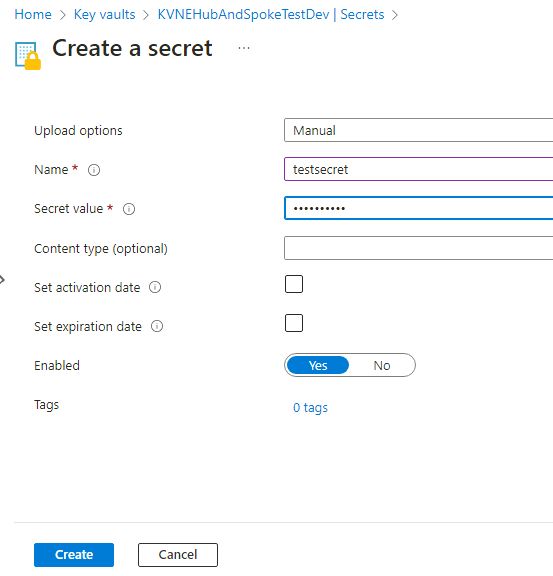
and add a secret:
If we disconnect from the VPN, we should be unable to list the secrets again, due to the vnet restriction.
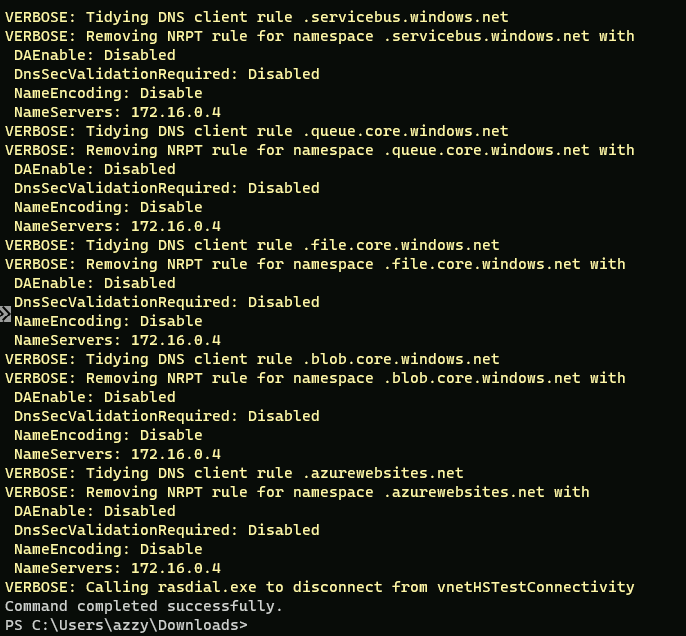
It’s important to use the corresponding disconnect script to disconnect, so that the DNS policy rules are removed and those Azure DNS namespaces don’t continue to try and resolve through an inaccessible DNS server!
.\Disconnect-BasicVPNGatewayWithPrivateDNS.ps1
Once disconnected from the VPN, we’re locked out of listing the secrets again!
