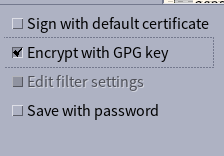
I was struggling recently with decrypting LibreOffice documents that had been encrypted using LibreOffice’s Encrypt with GPG key option.
I generally use GPG on the command line, have a minimal set of packages installed on my host system, and don’t really enjoy a command line activity suddenly popping up an unexpected graphical window, so I explicitly set pinentry-tty as my pinentry-program in gpg-agent.conf. This keeps in all in the terminal and beautifully lightweight:
pinentry-program /usr/bin/pinentry-tty
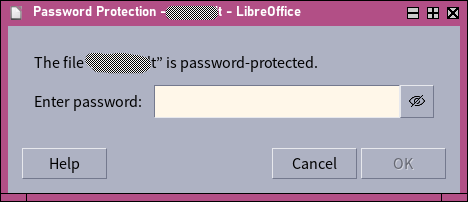
This configuration appears to be an issue when trying to decrypt GPG-encrypted LibreOffice documents. When LibreOffice is opened from the graphical environment, what would happen when opening one of these files is that a generic “enter a password” dialogue would be presented, and of course this won’t accept the private key passphrase.
To try and debug, I ran soffice from a tty, and suddenly the same “open” action behaved differently — it asked for my passphrase using pinentry-tty in the controlling terminal session. I guess that works, then, if it’s a little inelegant!
So, if you’re using a non-graphical pinentry-program, you may need to be aware of this, and run soffice from a terminal. Or, perhaps make less esoteric choices about your pinentry-program, although evidently I can’t help you there 😉 !